Headless CMS
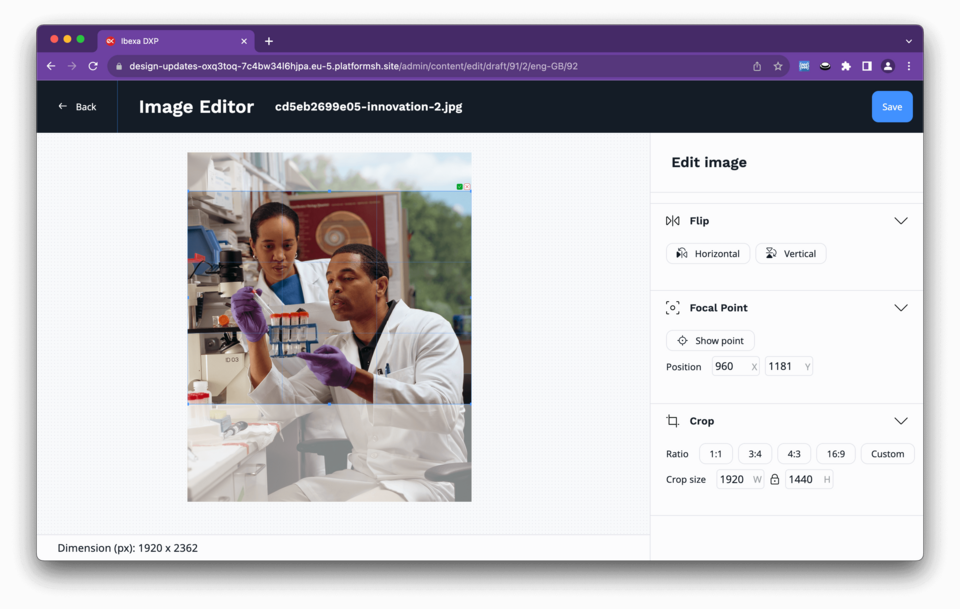
Image Editor
Available in
 Headless
 Experience
 Commerce

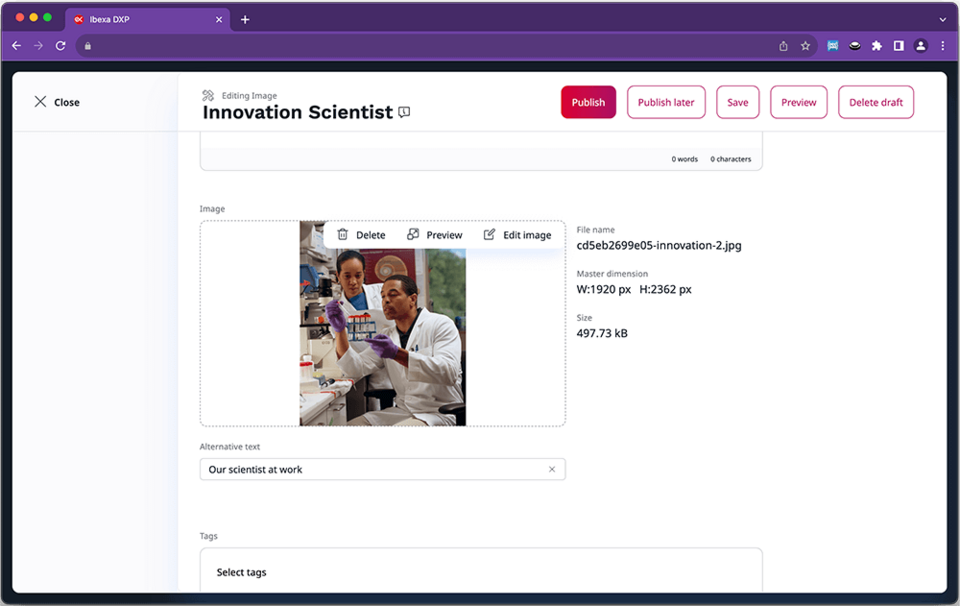
Manage image editing without leaving Ibexa DXP with our user-friendly interface for content creators.

Enjoy a range of default tools which can be expanded with custom image editing capabilities.

Boost efficiency by performing simple image edits without additional support from a graphic designer.
Edit images in a flash
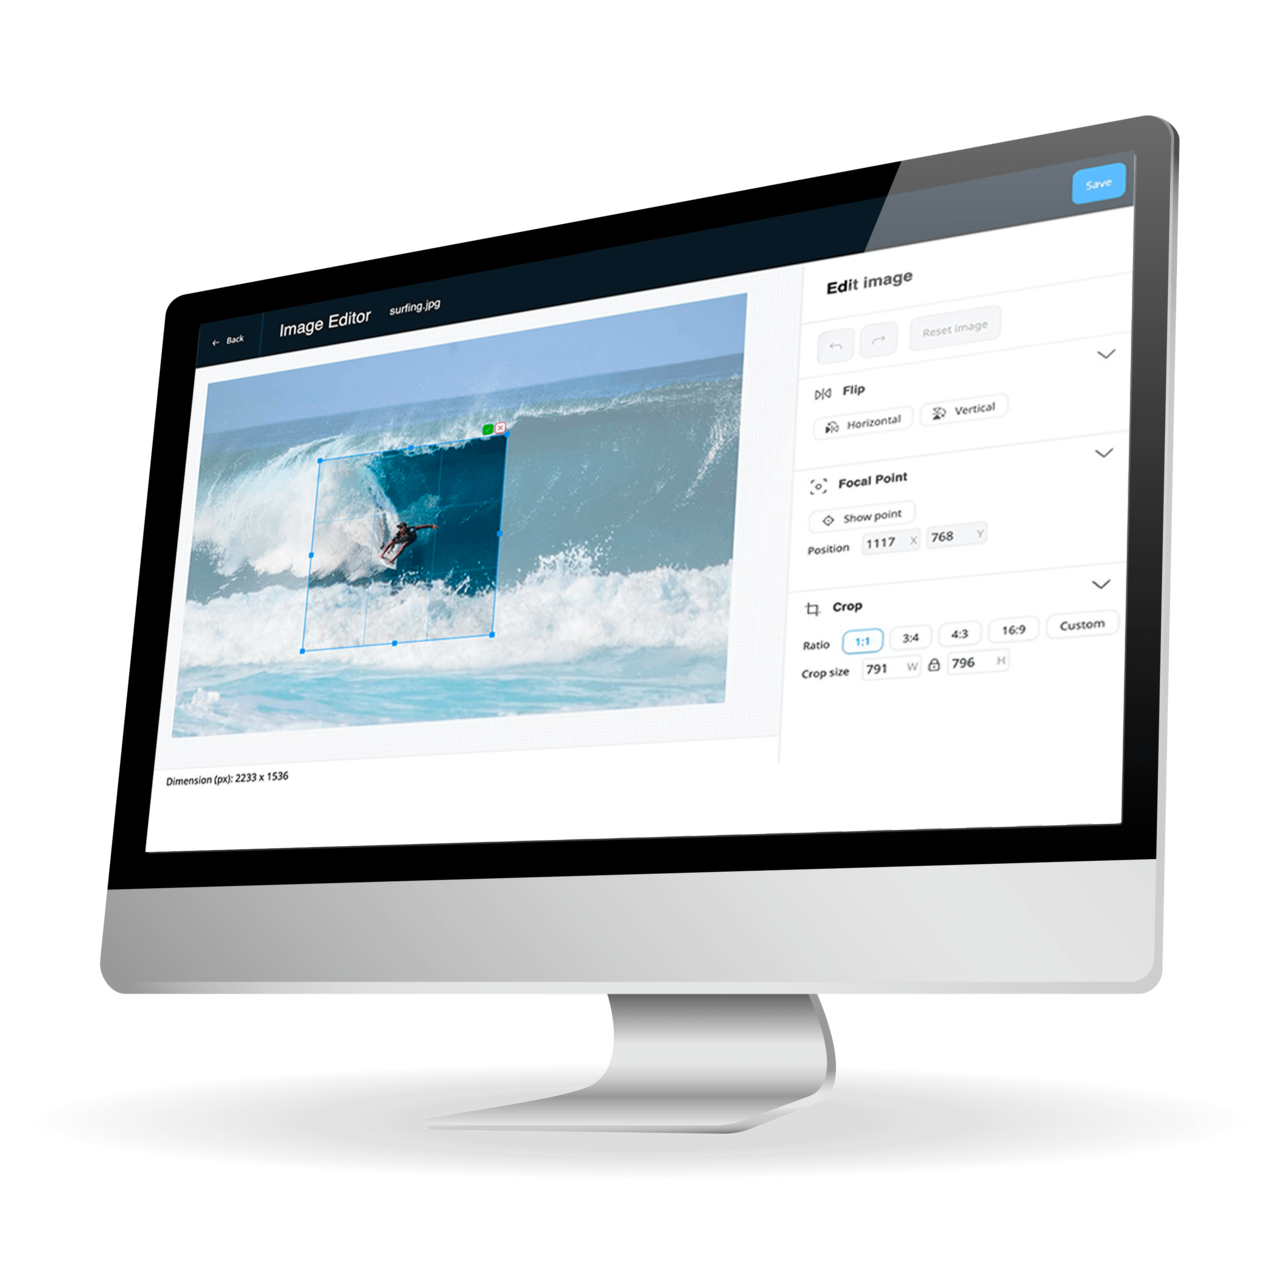
Image Editor was developed to support our customers’ need to perform basic image editing operations on uploaded images in an efficient manner while working on a content item within Ibexa DXP's editing interface.
The tools intuitive, user-friendly interface is designed to speed up the image editing process.
Everyday image editing tasks made easy
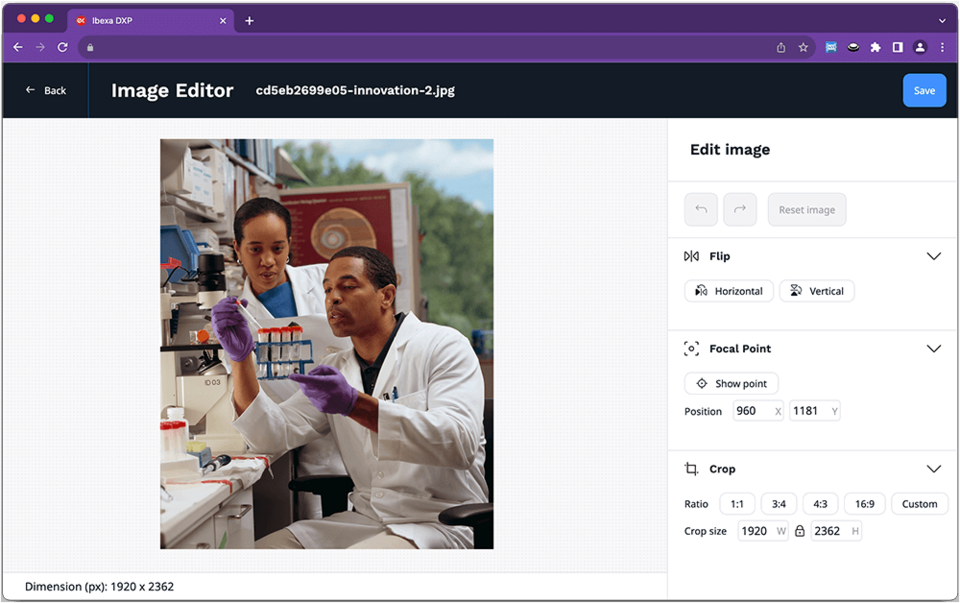
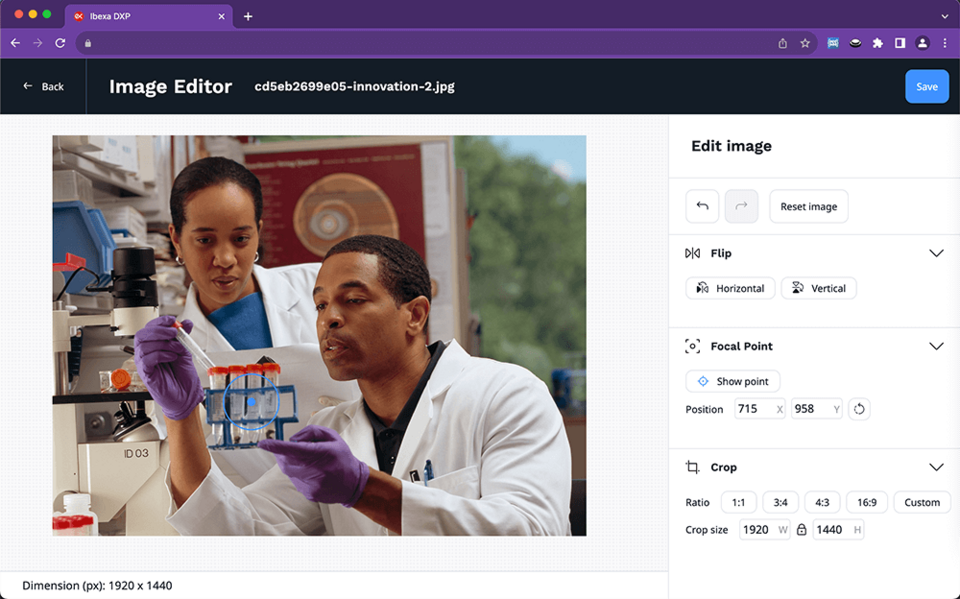
Manage the most common operations including image cropping, image flipping, and determination of a focal point – to ensure optimal display of the image’s primary subject across devices and screen resolutions.
Image Editor can also be easily expanded with custom image editing capabilities in addition to the default options to suit your specific needs.
Boost efficiency as a content creator
The tool is not a replacement for full-scale image editing programs, but it enables users to work more efficiently whenever you need to perform basic edits to an image while creating content in your Ibexa DXP.
Make simple edits and publish content without unnecessary delays.
Forge ahead without design support
Allowing editors to perform simple image edits without the involvement of graphic designers or colleagues skilled in the use of advanced editing programs, freeing up time and resource.
Image Editor was introduced with Ibexa DXP v3.3 and is available in Ibexa Headless, Ibexa Experience and Ibexa Commerce.
Discover why our customers love Ibexa DXP
Discover all the different ways our customers are using Ibexa DXP to centralize, simplify, automate and create impressive digital experiences.
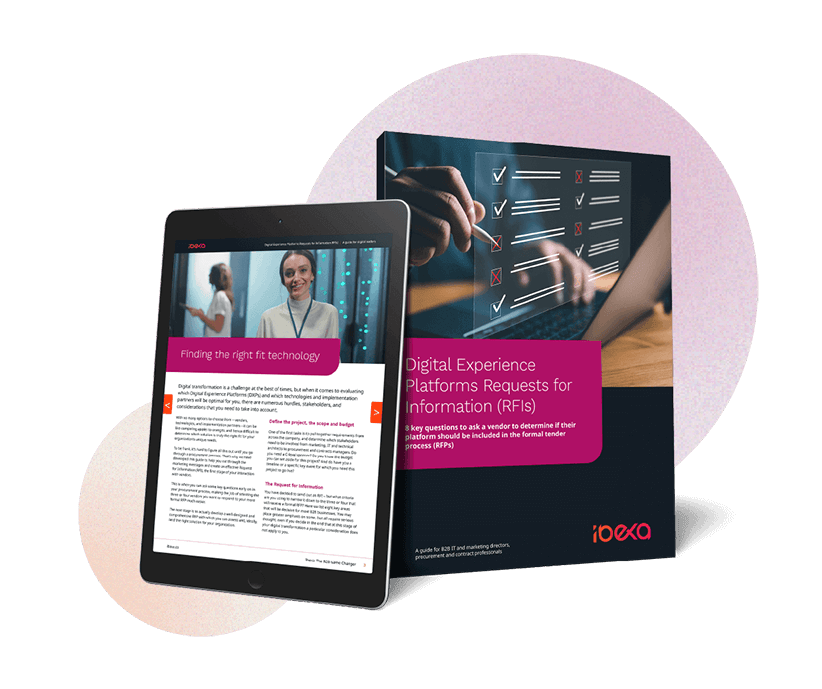
Download our free RFI eBook to help you choose the right DXP
In this free and exclusive eBook, we guide you through the process of requesting thr right information for your specific needs with a range of useful templates and information to kick-start and accelerate your digital transformation strategy.